Pages

Total Pageviews

Wednesday, October 26, 2011

The (Briefly) Tidy Craft Room

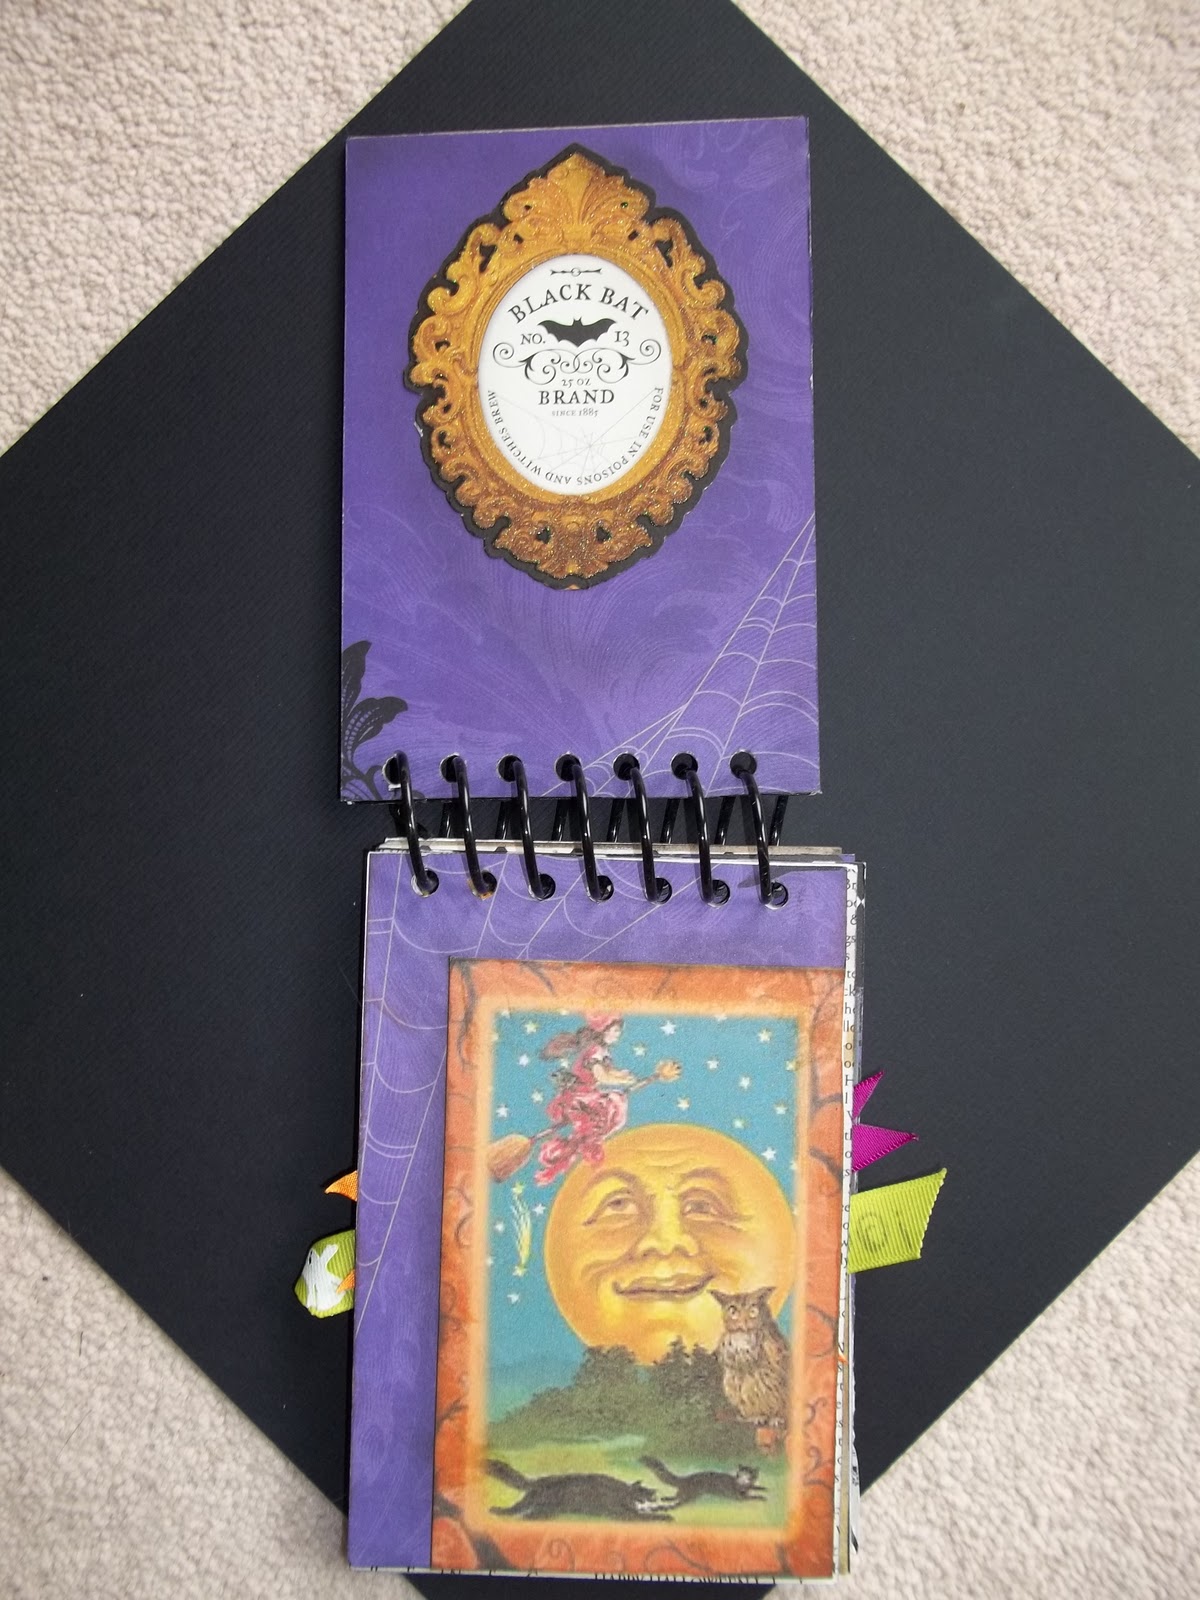
I couldn't help myself. As predicted, I stopped in the middle of cleaning to make something.
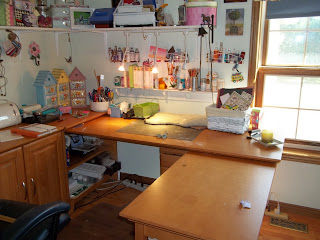
Then I went back to cleaning, and for a brief shining moment, my room looked like this:

And now it's back to this:
This is what I interrupted my frenzy to make. The memo board is so easy and quick to make! I've seen a lot of stuff on Pinterest using scrapbook paper, and this is my take on one of them.
 Did you know that you can find 12x12 scrapbook frames at the dollar store? I spray painted mine white - and let me say here that you get what you pay for. The original paint on the frame bleeds through. (I know it's shocking to hear about an item from the dollar store. )My frame turned it the palest shade of cotton candy, so that was okay. But do note if you prefer the plainest white. 
All you do is adhere a sheet of sb paper to the backing. I swear by Elmer's Aerosol Craft Bond. It's messy as hell but just use WD-40 to get it off of your fingers. If you use a box for misting, you can rig up the same sort of deal if you use the enormous can of Craft Bond like I do. I bought the cans recently for a large project and I haven't made a dent in either one. Talk about cheap glue! Anyway, I've used Craft Bond for the covers of my mini books and also for the cover of a counterfeit SMASH book that I made recently. I've also used it for decoupage and decorating with paper. It looks like a laminate, it's so smooth. No, I'm not sponsored by them (I wish.) but I do like their glue!

Monday, October 24, 2011

Why You Need a DROP Basket in Your Craft Room!

I would never post a picture of my untidy craft room, mainly because somewhere in Cyberland, there's is a doppelganger of me who is ready to pounce with the snarky comment: "How do you let things get that out of hand in the first place?"
So in the proper vein of the typical famous mommyblogger (though I am not a mommy, blogger or otherwise), I will wail plaintively that NO, MY LIFE ISN'T PERFECT AT ALLLLLLLLLLLLL!!!!!! Then post a picture of my perfect room.
Anyway, back to the drop basket. It is essential to the major craft room overhaul.
What a drop system does is allow you to clean up your work surface by just dropping items in a central container, to be sorted into their proper places later. The importance of this item is that it gives you a little encouragement while you're tidying up. You can see your results much faster, and it is much less frustrating. Without a drop system, I would have long ago given up on something like this:
or this:
The drop system allows you to drop an item in and have it out of the way, thus giving you a little gratification as you work.
I have four drop baskets: one for paper and large flat items, one for small items, one for my stamps (all used stamps and blocks go in for cleaning and resorting), and one for bulky items like spools of ribbon, punches, etc.
Try implementing your own drop system: it's even more fun when you make a project of your drop baskets. For the one pictured above, all I did was spray paint the basket white and then stamped the liner.
So I'm off to tidy - I only hope crafter's ADHD doesn't hit me in the middle of my work!
Happy crafting.
Rosie

Saturday, October 22, 2011

My Official St. John's Ambulance Therapy Dog

We did it. We decided to do something and followed up - and achieved our goal! Milo passed his evaluation today with flying colors, even though he slipped his collar once. That's an unforgivable faux pas with some evaluators, but luckily, we didn't have that evaluator  today. Milo was very cheerful and enthusiastic throughout the test and was on his very, very best behaviour.  He's looking forward to his new job!

Tuesday, October 18, 2011

Card for the Stepping Stones Blog Hop

Blog-hopping is a new passion of mine - what a great way to meet new Pretend Friends (ie, internet friends). I participated in two over the past week. They're time-consuming but so much fun, and a great way to expand your blogging horizons. Plus, some of these great bloggers give away free stuff! Yay!
This is the card I made for the SSD blog hop. The sketch originally intended for a new release of a Christmas stamp set from SSD, but with Halloween on the mind and horizon, I was inspired to make another Halloween card. The harlequin paper in from Recollections "Midnight Magic" pad and the stickers are new K & Company from Michael's.

Wednesday, October 12, 2011

The LIttle Halloween Book I Made For My Mom

I got the images off of the internet. Just Google "free (that's important!)vintage Halloween images" and most of the ones I've used and some others are available. I print mine at 4x6 which is best for the sharpness, I think. Like I'm a real visual GENIUS!
The paper is from the "Midnight Magic" pad by Recollections, available at Michael's. I also used a little bit of ribbon for the minimal embellishments. The paper pad has two sheets of die-cuts that I also enjoyed using in the mini-book.
I particpiated in my first blog hop this evening featuring Skipping Stones Design and I had a blast. Those girls are amazing designers and some new Pretend Friends. Check it out at the blog of my new Pretendie, Just Jingle!
Oh - I have a love affair going with Elmer's Craft Bond adhesive. It's sold in a big ol' can like WD-40 and it is the best glue going for chipboard. I use it all the time now for my mini-books and find the bond to be ultra-smooth. CraftBond is pretty tenacious, and if you're using a lot of it you may end up bonding your shoes to your scraproom floor. To control the spew of the glue - use a box to do your spritzing, much like one of those boxes for misting. You can make your own - I'm told that you can get boxes at the liquor store.........
To remove CraftBond from your work space, spray it with WD-40. Let it sit for a moment, then wipe off. For your fingers, try nail polish remover for those sticky spots.
Have a great day. I'm off to do the Samantha Walker blog hop. This is fun! It's a great way to "meet" new people and see others' work - as well as showcase some of your own.
Rosie

Friday, October 7, 2011

Go to My Pretend Friend Amber's Crappy Pictures Website

I love my pretend friend, Amber. She writes and draws an adorable blog called "Parenting with Crappy Pictures" http://crappypictures.typepad.com/crappy-pictures/ and it probably is the best mommy blog around. Her work is more gently sarcastic, and she expecially takes aim at the Mamarazzi by drawing incredible engaging stick figures in place of highly-edited, dreamily posed fauxtographs. I am not a mommy, but I read some of them now and then to see what's new and exciting and check out the cutting-edge writing, as in my other pretend friends' blogs, Mrs.ODie2 and The 24 Year Age Gap.
Amber`s messsage is serious, but I do love her drawings. How does she make them so simply but with so much expressionÉ Huh. Must be talent, I guess!
I`m bring this entry to your attention because it`s October and Breat Cancer Awareness Month. Go feel yourself up!

Wednesday, October 5, 2011

It's A Blog Miracle!

I have comments! Thanks so much to you for taking the time. I now know how much it means - I promise I'll never visit a blog without commenting!
Rosie

Monday, October 3, 2011

Banner Mania

I have so many things to do around the house that I have restricted myself from spending money until the jobs are completed. I'm finding lots of supplies on hand here at home, and finding uses for my excessive paper stash. Banners are a super way to use up extra paper, and the less they match, the cuter they look!
Making banners is easy - in theory.
Decide how many flags you want you banner to have. I make the main flags 6 in. wide at the top and six inches long form the center point of the top. Mount on cardsstock in colors coordinating with your chosen theme.
Embellish and connect flags by sewing or stapling to a ribbon or length of twill tape.
 I love adding the paper rosettes - it's my current thing right now. If I can't offer you expert instructions for making these, allow me to give you what I know and offer a little encouragement. (There's always plenty of that!)

My rosettes are 3 in. across. If you want to change that size - let me know how it goes!
1. Cut 1.5 in wide strips from a 12x12 piece of  patterned paper. The weight is good for folding.
2. Using a scoring tool (I have the MS one - I love it. Grab one during a coupon event at Michael's.), score strips every 1/4 in. Don't press too hard with your scoring tool, or "folding boner", as my niece Alicia used to say when she was little.
3. Starting at one end of the strip, start folding alternately in and out on the scored lines. You'll need three hands for this one - just keep practicing! It helps to do this on a flat surface.
Once you have the strip all folded, gently fan the strip around so that the ends meet. I'm thinking a hemostat would be of great help here, to hold the edges together until you can glue them. I currently apply a large glue dot to the center to keep things from unraveling. (You may need a couple. I'm still working on this one.)
4. I apply the rosette to a slightly smaller  paper bases to stabilize it. I adhere he center of my rosette at this time, to stablize the front.
I'm currently working on a Halloween banner - you'll be the first to see it here!
Thanks for reading. Pea friends, please check in!

Saturday, October 1, 2011

Making Cards

Making cards is a super way to use up bits and pieces of your stash. They're easy, and gratifyingly quick to make so you can satisfy your crafting craving in no time. I'll be making more cards!
I'm in the process of making Christmas cards, and probably no two will be alike! This is the latest one I've made. Make the base from cardstock and round edges. I used a small piece of an old Basic Grey Christmas pattern (2009 I think) that I had in my scraps box and after trimming, cut and stamped a tag from the left-over pieces. Chalk or ink edges. I  stitched the borders with my new We R Memory Keepers Sew Easy tool and piercing mat, but you could just as easily stitch them in your sewing machine or use whatever kind of edge effect you please, like drawn pen lines, stickers or rub-ons. Punch a small hole and apply an eyelet to tag if desired. Tie on with twine, embroidery floss or the fibre of your choice.
I finally did it: submitted something to a magazine! I submitted a card to the "Inspired By" section of Paper Crafts Magazine, a magazine I really like because of the emphasis on design and technique. I was inspired by the card "Life's Adventures" in the latest Sept/Oct 2011 issue of the magazine, page 79. It's a wonderfully adaptable design that you could use for any occasion, and takes very little in the way of supplies.
I've enclosed the supply list just in case:
1. cardstock
2. patterned paper, two complimentary designs
3. graph paper (I got mine ffrom this website: http://incompetech.com/graphpaper/
    (You can make the graph paper in any color or size you wish.)
Have fun!
A welcome to all of my new Pea friends doing the blog hop!
Rosie